iRobot® Create® 3 Hookup Guide for NVIDIA® Jetson™
Important
This is community-submitted content. Please feel welcome to submit PRs for additions or corrections.
The iRobot® Create® 3 robot has a JST XH-style connector on its internal Adapter Board which is capable of supplying a maximum of 2 A of current at the current battery voltage (14.4 V nominal).
The iRobot® Create® 3 robot has a USB-C®1 connector implementing a USB 2.0 host capable of 5 V @ 3 A continuous, which can be used to power and communicate with various downstream devices.
Here are some hookup examples for NVIDIA® Jetson™2 computers.
NVIDIA® Jetson Orin Nano™ Developer Kit
Note
Hookup kit
Below lists the content of an example kit that enables mounting Jetson Orin Nano Developer Kit with some sensors like Intel® RealSense™3.
- Jetson Orin Nano Developer Kit
- Custom power cable (JST-XH to DC 5.5 mm x 2.5 mm plug)
- USB data cable (USB-C® to USB-C®)
- Jetson NX-style developer kit mount (STL file)
- Sensor mount plate (STL file)
- M3 standoff/spacer x4
- M3 screws
The Jetson Orin Nano™ Developer Kit has a 5.5 mm x 2.5 mm barrel connector jack for power (9 V to 20 V) and a USB-C® port for upstream data.
This can be powered from the unregulated battery port of the Create® 3 adapter board by using a JST-XH female connector to DC barrel plug cable.
NVIDIA® Jetson Xavier NX™ Developer Kit

Note
Hookup kit
Below lists the content of an example kit that enables mounting Jetson Xavier NX Developer Kit with some sensors like Intel® RealSense™3.
- Jetson Xavier NX Developer Kit
- Custom power cable (JST-XH to DC 5.5 mm x 2.5 mm plug)
- USB data cable (USB Micro B to USB-C®)
- Jetson Xavier Developer Kit mount (STL file)
- Sensor mount plate (STL file)
- M3 standoff/spacer x4
- M3 screws
The Jetson Xavier NX™ Developer Kit has a 5.5 mm x 2.5 mm barrel connector jack (J16) for power (9 V to 20 V) and a USB Micro B port (J5) for upstream data.
This can be powered from the unregulated battery port of the Create® 3 adapter board by using a JST-XH female connector to DC barrel plug cable.
The data connection is established by using a USB Micro B to USB-C® cable, which requires some software tweaking to allow the communication between the Create® 3 robot and Jetson. See this page.
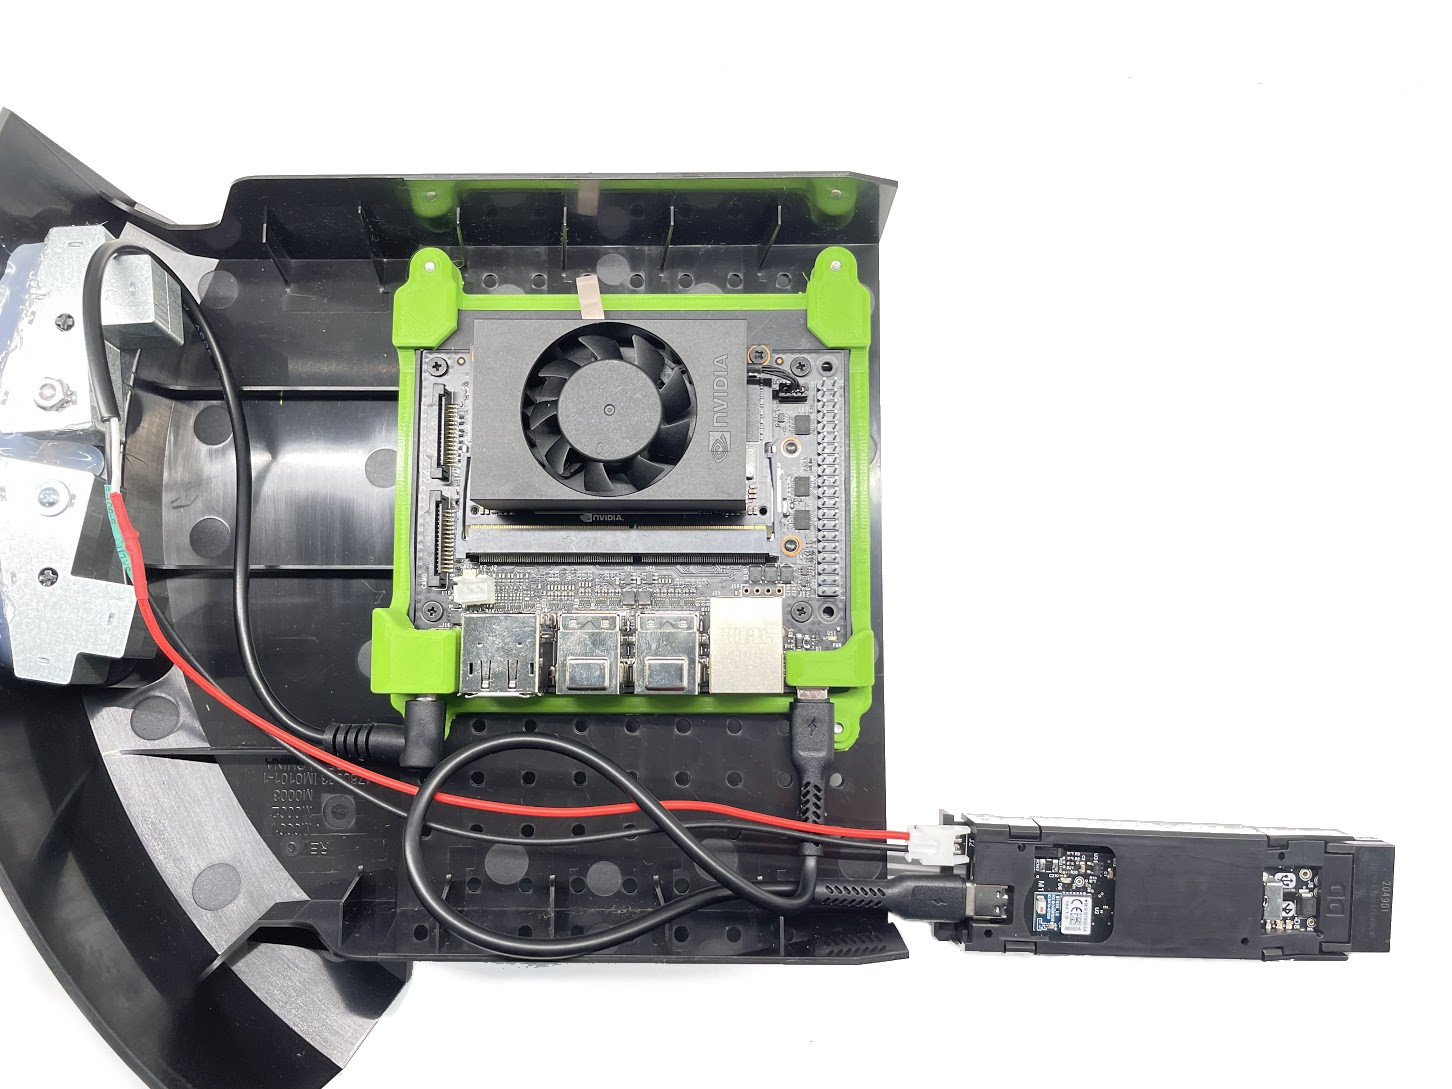
How to mount
Mount bracket for NVIDIA® Jetson NX-style developer kits
A mount bracket can be used to mount either Jetson Orin Nano™ Developer Kit or Jetson Xavier NX™ Developer Kit on the Create® 3 faceplate or in the cargo bay..
You can 3d print the mount bracket.
Note
-
If you are 3d printing the above mount bracket, use support to support overhang areas.
Slicing example

-
You need four (4) M3 x 6 mm screws; cap head is suggested.
Printable sensor mount plate
You can 3d-print the sensor mount plate.
To fix the plate at a raised height, you can use M3 spacers like this to allow the sensor to have unobstructed view.
NVIDIA® Jetson Nano™ 2GB
The Jetson Nano™ 2GB has a USB-C® port (J2) for power and a USB Micro B port (J13) for downstream data.
This can be connected to the Create 3 robot most simply using a USB-C® hub and two cables -- USB A to Micro B and USB A to USB-C®.
